Guide to Composting

The prevalence of composting has grown exponentially over the last 10 years, as more people have learned how easy it is. In the past composting was only done by the most serious of gardeners, but now anyone can improve their soil. Whether you’re looking for more vibrant plants in your garden, or stronger grass, using your own compost will save money and provide great results! Check out our guide to fertilization here for another way to use your newly made compost!
What You Need:
3′ x 3′ x 3′ area or composting tumbler
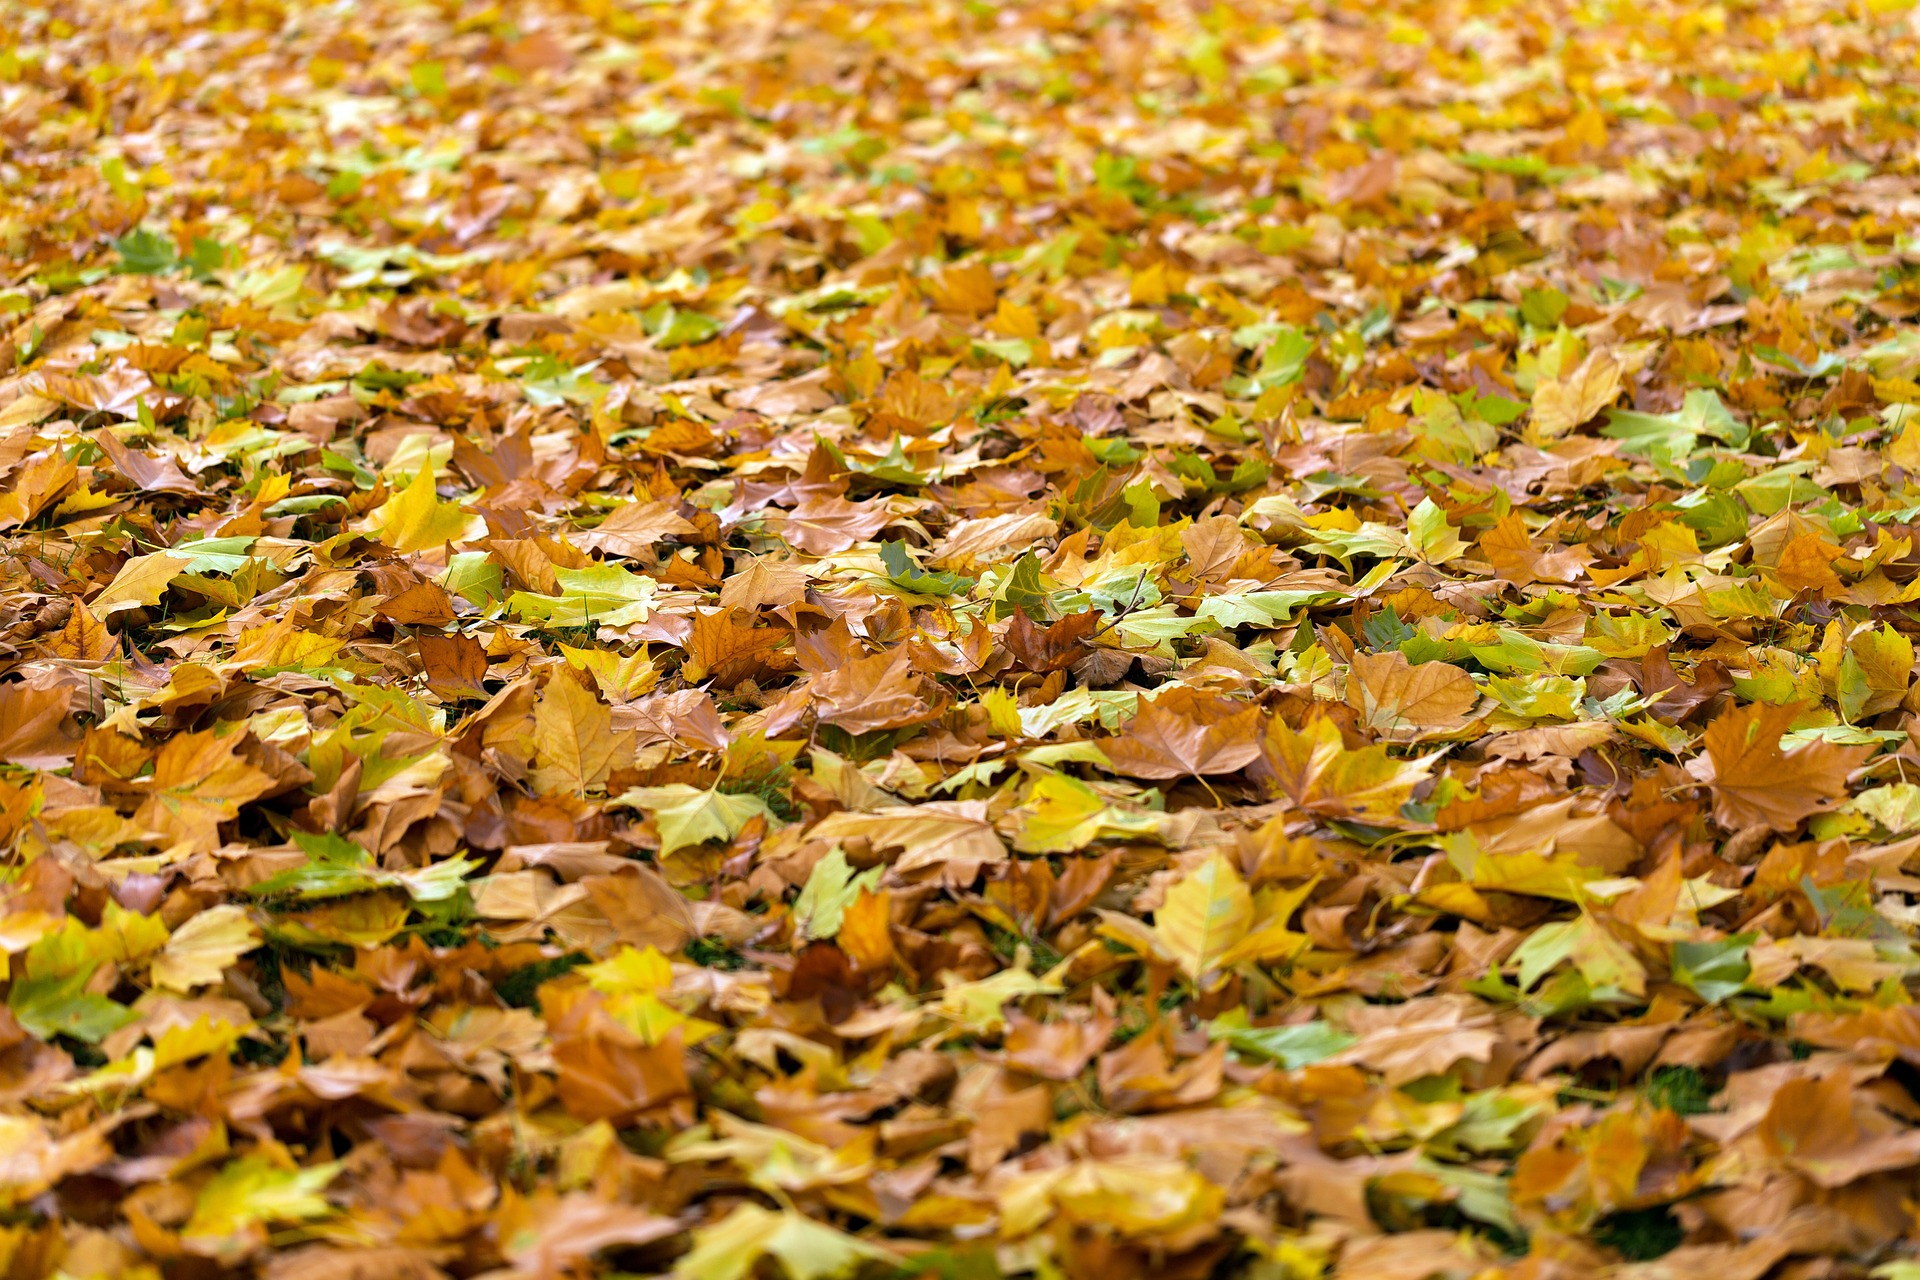
Brown Plant Material (Shredded newspaper, straw, dead flowers, wood chips or fall leaves)
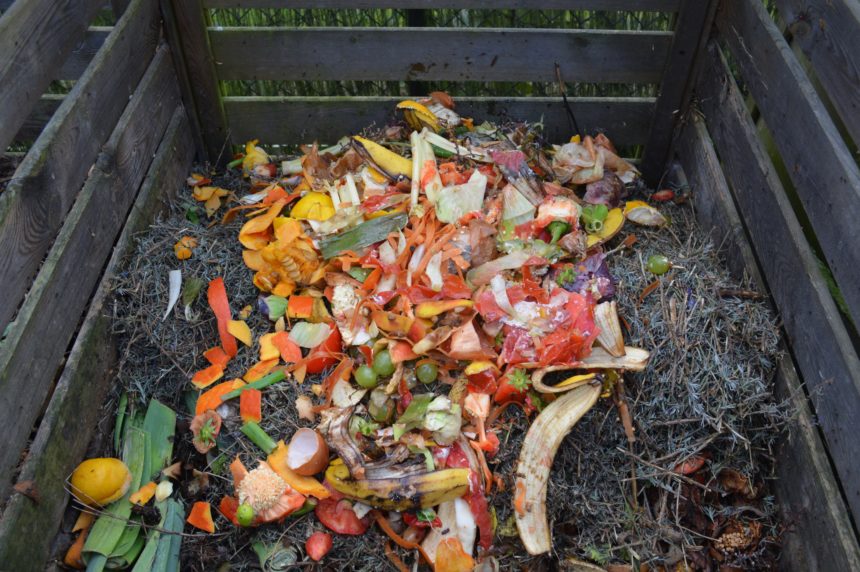
Green Plant Material (Fruit and vegetable scraps, grass clippings, or barnyard animal manure)
Sticks/Twigs
Pitchfork
Building/ Maintaining Your Compost Pile:
- To start, you may want to build a compost bin, which can be as simple as a wooden bin with slots. This keeps the pile looking nice, however it is not necessary to compost. A bin will help slightly smaller amounts compost, but you should always aim for enough material to fill a 3 x 3 x 3 area.
- Place the sticks/twigs or straw at the bottom of the pile, this will assist in the aeration of the pile and will help drain the pile so that it doesn’t get too wet.
- Start adding your green and brown plant material. You should alternate between the green and brown material every half foot or
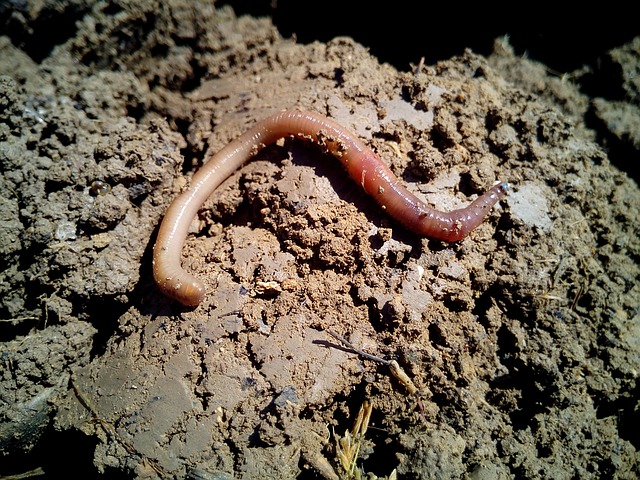
 so. If you want to help the process you can add a small layer of garden soil (worms can be added as well). The green plant material contains the nitrogen needed for the reaction, while the brown material contains the necessary carbon. These ingredients, plus oxygen and water combine to makes the process successful.
 - After every layer, lightly water the pile. The pile should be damp, but not soaked.
- Continue adding material until the pile is 3 feet tall.
- Water to keep the pile damp. Rain can also accomplish this task.
- Turn the pile over on a weekly basis. Using the pitchfork, take the material from the center and move it to the outside of the pile. Then take the material on the outside and move it towards the center of the pile.
- You may add additional vegetable/fruit scraps at any time. This gives the pile a fresh source of nitrogen.
- The compost is usable when the material looks like soil and crumbles. It also will not give off any heat as it had when turned previously.
Additional Tips For Composting
- Leave out the meat scraps and bones, as this can attract unwanted attention from carnivores. Their attention and digging could ruin the process. This material can also greatly increase the smell of the pile.
- Also avoid using any materials that have pesticides or herbicides, as this too is detrimental to the pile.
- You should see steam rising from the compost pile when you turn it. If not you should wait longer before turning the pile.
- Over summer is the easiest time to have a successful compost pile, as the temperature outside is already extremely warm.
- There are “no turn” compost piles. However these piles take over a year to be usable, so depending on your timeline, try to stick to turning your pile.
Just like that and you’ll have your own usable compost in a few months! Thanks for reading and come back for more tips!
How to Build a Compost Pile – How to Compost – Top 10 Tips – A Guide to Compost at Home – Guru
Share This Post
Recent Posts
- Treating Your Lawn During a Drought July 15, 2017
- 7 Tips for Mowing your Lawn July 2, 2017
- 5 Great Outdoor Entertainment Ideas June 23, 2017
- Introduction into Deadheading June 19, 2017
- Pesky Pests : Japanese Beetle June 10, 2017
